


And now, for something completely different!
Reading elsewhere in this blog, you will (quickly) notice that my primary modeler’s focus is trains. So, this may come as a shock, but I love me some aircraft. As a kid I built dozens of them. (Many of them ended up blown to pieces by fireworks and such, but that’s another story.) But I hadn’t built an aircraft model since the 1970s.
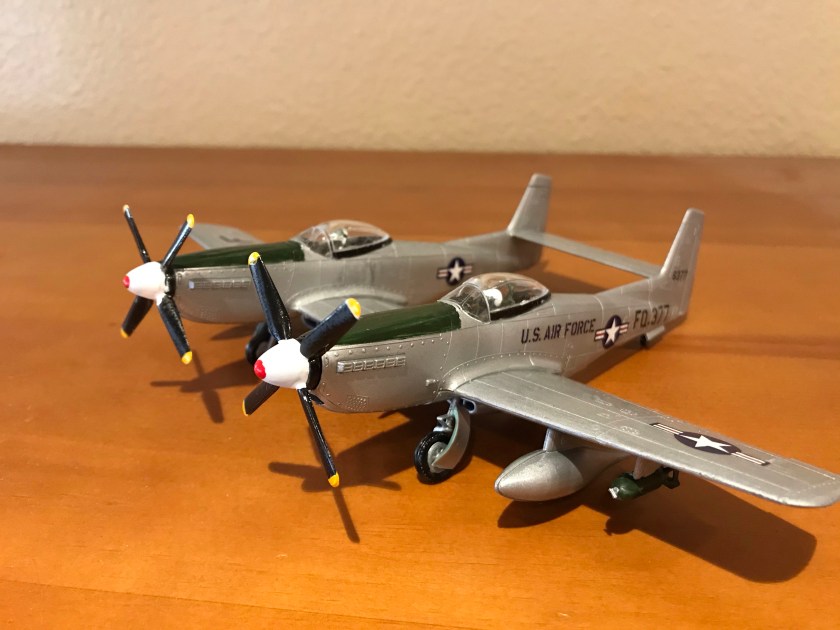
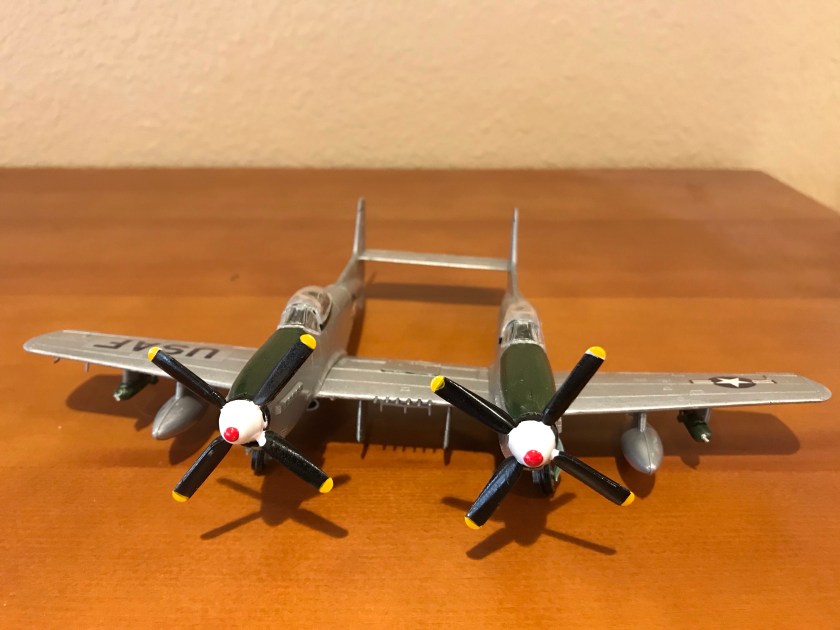
But then… a couple of Christmases ago, the family found a bunch of kits on clearance at Hobby Lobby, including a Revell kit of what is indubitably one of the strangest planes ever built– the F-82G. It ended up under the tree with my name on it. On the outside the F-82 Twin Mustang basically looks like a pair of conjoined P-51’s, though it had a number of systems upgrades and changes that made it quite different. These were the last American propeller-driven fighters designed before the advent of jets, and served in Korea.
Well, it took me a while to get around to building it, mostly because I have matured a bit in the model-building department. In other words, I don’t just slap them together any more in 45 minutes. I wanted to apply the lessons learned over the years, which would take a little more time. Which means, of course, that I learned even more when some of my brilliant ideas didn’t work!

First thing I learned is that painting the parts on the sprue isn’t such a good idea. For one thing, you still have to deal with removing the attaching spurs. And secondly, my cement of choice (MEK) spreads quickly and rapidly, eating the paint. As a result I had to go back and touch up a few things.
Second thing I learned is that 1972-era Revell kits aren’t necessarily the best-engineered things. Some parts don’t fit perfectly, and some aren’t molded perfectly either. There’s a lot of filing involved.
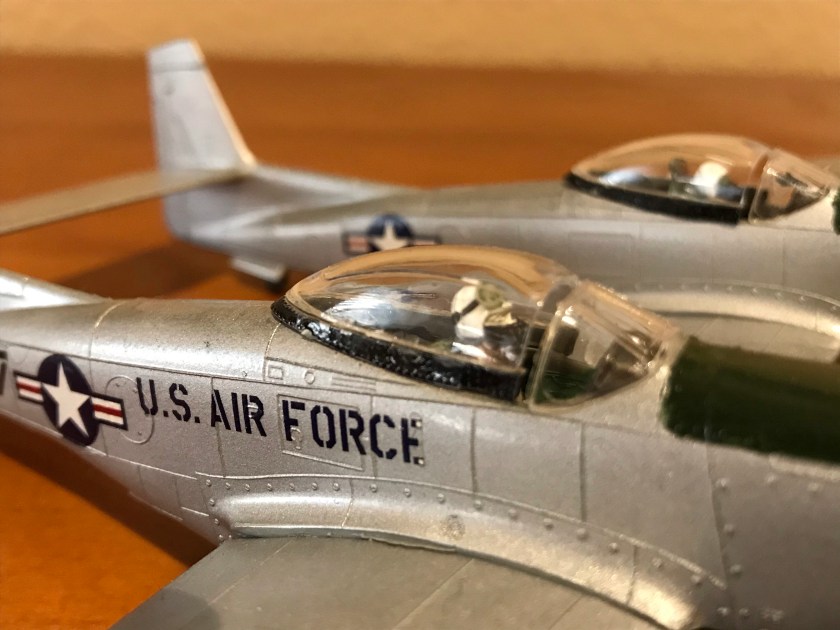
All that said, here’s what I did. I sprayed all the outer surfaces with Testors aluminum. I made my own zinc chromate by blending shades of craft-store acrylics. I pondered that choice for a while since there’s more risk of damage, but it turned out to be so satisfying that I used it for the anti-reflective panels on the noses as well. Anyway, I used the chromate color inside all the wheel wells and inside the gun panel. I followed the usual assembly steps, touched up the paint as mentioned, and occasionally cursed the people who wrote the instructions.
For the finish, I applied the decals with the Testors decal setting solution, and once they were down I used some Microscale Micro-sol to finish the job. Then I masked the canopies and oversprayed with Glitterblast, a rattle-can clear paint that I had on hand. It actually did a good job of bringing out the lustre of the aluminum.
I will confess that for this exact number of aircraft (which appears in the Wikipedia article, incidentally), the wings and tail should be red. But I wimped out and just left it plain-jane, which is an accurate scheme– just not this number. But you won’t tell anyone, will you? 🙂
Now I just need to dust off those aircraft carrier models I built a few years ago…

