

Most model railroads do not exist on an infinite plane. Rather, and especially with modern layout design philosophies, they represent something closer to a series of dioramas placed end-to-end. Personally, I fell in love with the diorama concept as an impressionable lad on visits to places such as the Denver Museum of Natural History, or the visitor centers at Mesa Verde and Dinosaur National Monument. The Denver museum’s dioramas tend(ed) to be rather larger in scale, but the concept is the same: a foreground consisting of a three-dimensional recreation of the subject, and a two-dimensional backdrop painting to convey the illusion of depth.
Depth is what we’re after, here. Whether you’re building a display for a naval vessel, a B-17G, an Astin Martin, or a model railroad, the backdrop is key to making the eye believe that the exhibit exists in a larger world than it actually does. Accordingly, it behooveth the one who modeleth to acquire certain skills that pertaineth to creation of said backdrops. And that is our purpose in this series: to learn how to create convincing backdrops behind our model scenes that enhance (not detract from) them.
In this installment we’ll start at the beginning of a backdrop project. Next time we’ll have a look at the application of these concepts to a specific situation. You non-train people, bear with me and just substitute language applicable to your discipline in place of all the railroad-related items. The principles are the same.
As always, I start with certain assumptions. First, I assume that you are not a professional artist of some kind. I assume this because, if you are such, you will probably tear me to shreds, and frankly I’m not sure I can bear that. So, for our purposes you agree to at least pretend that you are not already an expert artist. Good enough? Good. Second, I assume that you are capable of holding a paint brush or at least a pencil. Third assumption is that you have some idea where your railroad exists in the world– even if your world is imaginary.
Now, for the steps. Planning is key, not to state the obvious. But how many of us just nail up a piece of hardboard and start slinging paint at it? Before you go any further, the first step is to put down that there paintbrush, pardner! Set back a spell and listen to a tale from a man called Jim…
First thing you need to do is to stop, think, and visualize your scene. You’ve built some benchwork, laid and electrified your track, maybe even crafted some landforms. This tells me that you’ve decided on a location for the scene. It’s on the plains. Or it’s in the desert. Or it’s at milepost 23.6 on the Moffat Line. Wherever it is, you have defined where the scene exists.
Now that the scene has been located in space, you need to locate it in TIME. This may or may not be obvious to you, so let me elaborate. Take a moment and look out your window. Now, what time is it? Where’s the sun? It’s causing objects to cast shadows. Where do they fall? How long are they? What’s the sky look like today, and how’s the weather? What time of year is it? Now, step away from the window, picture your scene, and write down its time-based attributes.
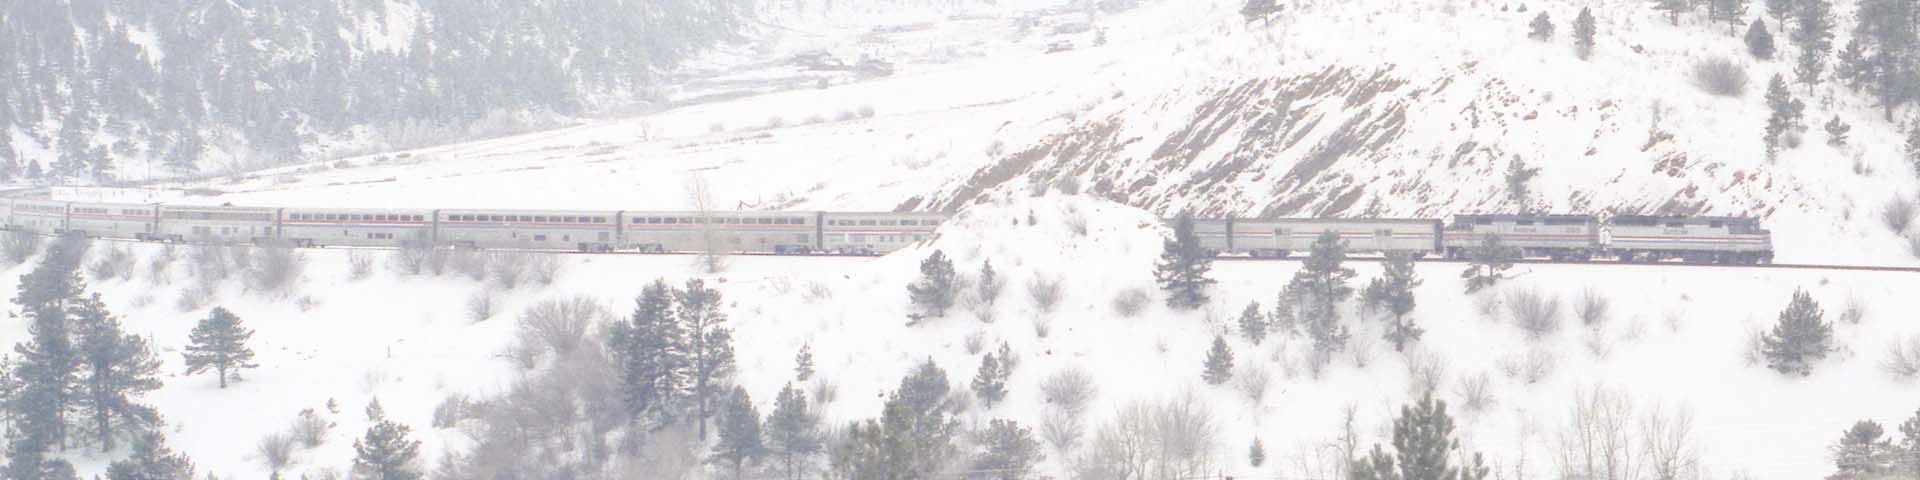
Sadly, or perhaps fortunately, the weather doesn’t change much on most model railroads. On mine it’s always winter, so I designed my scenes to reflect typical December-to-February conditions. Your choice will have a lot to do with how you proceed with your scenicking, not just how the backdrop will appear.
Once you select a time of year, I’d strongly urge you to gather a selection of photographs taken around that same time. Even if you’re not reproducing a real scene, find or take some photos of something similar, for the rules of light and shadow are the same regardless. If you are building a real scene, it is even more imperative that you do this. Obvious? Probably, but there are practical reasons for this. More on this later.
Next, you must build the physical structure of the backdrop. There are a few choices you can make, so let me discuss my efforts for a moment. I have built basically three scenes on my layout requiring backdrops. Two are corner scenes and have curved backdrops; one of these was later extended so I had to add on about 16 feet of additional scenery. Options are driven by requirements; the curved sections were built using Masonite (hardboard); the extension of the Moffat Tunnel “diorama” was built using foam-core board, and after my sad experience with that, I went back to Masonite for the Front Range section. For that part I also chose to try jigsawing the horizon and placing skyboards behind it.
So, what are the requirements that drive your options? I’ll enumerate a few; you can probably think of even more that apply to your situation.
- Distance from the average viewer, and height of that viewer’s eyes. This influences the height of the backdrop (i.e. if it’s set back 36″ from the edge of the layout, you may need to make it fairly tall).
- Support options. Will it attach to a wall, or must it be free-standing?
- Shape: flat, or curved?
- Budget: how much do you want to spend?
- Domestic: are you able to hammer, saw, screw to walls, and otherwise disturb your household and/or neighbors? If you live in an apartment, your landlord may have something to say here.
- Width of scene. If it’s less than the width of available materials, you might choose a pre-cut material such as foam core rather than a more elegant lumberyard solution. (Joining backdrop sections can be challenging.)
Back to my experiences. First of all, using Masonite for the curved backdrops was entirely satisfactory. Just be sure you have adequate framing to secure it. It also proved to be good for the long Front Range backdrop– I cut the top edge, you may recall, and that gives my mountains a hint of three-dimensionality that is sometimes hard to get from a flat painted surface. Masonite is durable and flexible. Just be aware that it can get rather heavy in large pieces, and can chip or separate with handling if you’re too rough. Foam core, on the other hand, seemed a perfect solution for a huge section that was wall-mounted. That is, it was perfect until I airbrushed it with diluted Acrylic paint for the base colors. The next day when I inspected the dried paint, I found that the moisture had caused the boards to curl over! It’s like un-ringing a bell; it can’t be undone. Well, almost can’t be done. It turned out I had some pieces of 1/2″ trim in my spares pile, and nailed these along the upper edge of the warped foam-core boards to bring them back into a semblance of flatness. Misting the boards with water helped them relax a bit. Moral of that story: don’t get foam-core very wet, and I strongly recommend that you secure all edges of it until your paint is good and dry.
Okay, now that you’ve decided on a material, cut it and attach it to the backside of your benchwork. As mentioned, curved pieces must be securely attached. However, remember what I said about requirements and options? My Front Range section actually goes down the middle of my garage, and I thought it wise to make it removable. So, I built some slots on the back of the scene and slid the backdrop down into them. This is easy since I can walk right up to the back, but there’s an unexpected implication of this: when building your foreground scenery, you cannot attach to the backdrop. Plastered hills cannot “lean” on the board, although if you’re good you can shape them to touch it when everything’s installed. Did I mention that I’m good? 🙂
I did say that we’d do a project in the next installment, so I will try not to get ahead of myself too far here, but there are a few general things you’ll do anyway. The first of these is to prime the surface. I’d use a white latex wall primer. This way your colors will work when you get to that step, and you’ll also be able to see your sketch lines. Next, referring to your photos or sketch, draw the outlines of major landforms or skyline features such as tall buildings. Anything that’s a major terrain feature should be sketched, but the most important one is the horizon.
And this brings me to a discussion on point-of-view and how that influences your backdrop. Any good painting essentially displays the subject from a particular spot, or point of view, and all the picture’s perspective supports that. (Unless you’re trying to screw with the viewer like in some Escher drawings!) But a backdrop on a railroad can be seen from any of a number of vantages, and this is a real disadvantage, so to speak. Here’s the problem. Let’s say you have a structure like a ski lodge or a row of storefronts. The facades do not present much of a problem, as they are probably parallel to the surface of your backdrop. But what about the side walls? The roof? Draw it so that it looks right from one angle, and it will look wrong from another! Go back and look at the header image of this article. The tops of the ski lodge buildings are painted to look right if one is a certain height– like mine– and if I’m standing so that the physical structure to the right is presented at the same evident angle. But if a small child views it from below, then he cannot see the top of the blue building whereas the tops of the brown building stick up awkwardly. It detracts from the realism, and there is no perfect solution for this.
If you’re interested in my opinions, here they are. First, do your best to find what you think is the most common viewing angle, and design the perspective from there. Second, if there’s a way to make the painted structure tall enough that the roof can’t be seen from any angle, so much the better. Third, if at all possible, place such structures as far into the distance as possible; this reduces distortion of the perspective. If that’s not possible, I would suggest that you cut the facades from foam core and fix that to the backdrop, giving a hint of three dimensions, and not show any side or top surfaces. I’ve done this with the pillars on my model of Union Station and it is surprisingly convincing. But just realize that no backdrop can perfectly represent three dimensions in two, as viewed from every angle. This is my strongest argument against using enlarged photo montages for backdrops.
Okay, so now we have the primed backdrop installed on the layout. Now it’s time to have another discussion on what you will paint, before you paint it. This discussion can be summarized as: Light is Everything! Everything. Absolutely… everything. Remember talking about the time of day and year and stuff like that, up above? Now it’s time to get really really specific. You must decide where the sun is, at this moment. That will dictate which sides of objects are highlighted and shadowed. It dictates where shadows fall on the ground (yes, you will paint those!) It decides how bright, and how sharp, your scene is. It also influences how you place your layout’s floodlighting, which is a subject for possibly another post. The only way to avoid this decision process is to decide that it’s night. So, go get a bucket of black paint and use it on the backdrop. You’re done. Wasn’t that easy?
Oh wait. It’s daylight. Dang it.
So, did you ever wonder why sundials aren’t perfect tellers of time all year long? Or why that one scene in National Treasure, where they find Benjamin Franklin’s glasses behind a brick at Independence Hall, just doesn’t work in the real world? Because of that whole the-axis-of-the-Earth-is-tilted phenomenon. In other words, the Sun is not at the same angle at 9:00 AM in January as it is at the same time on June 20th. Not even close. And this is why you must decide on a season, preferably a month, and a time of day, for your scene. A funny characteristic of light beams: at our distance from the sun they are effectively parallel. This means that all shadows hit the ground at the same angle. This is actually a good thing, because you can make a template to help you judge this. Easiest thing in the world, so long as you know how high in the sky the Sun is, and what angle relative to your backdrop it is. Do a little three-dimensional geometry (see previous post on the usefulness of geometry) and cut out a right triangle with hypotenuse cut at the sun’s angle). Use that when you start painting shadows and such.
Oh, and one other thing. Which direction is north in your scene? All else hangs on that. (South, if you’re in the southern hemisphere…)
I made a few references to perspective above. In case you never had Art Class in 7th grade, I’d suggest that you google up the concept of perspective and get more familiar. As it turns out, there are two very different types of perspective that we will utilize in our scenes. One is what I will call the vanishing-point concept, and the other is that of distance perspective. So, the vanishing point refers to a place in the far distance where all lines parallel to our line of sight converge. It’s Infinity, kind of a visual black hole. Turns out that drawing objects is a little more complicated than that– there may be two or more such points arranged along a horizontal line, for example– but it will help you get things closer to real appearance. Look at any photo and you will observe this. See the header photo above and study the brown lodge for a moment. I purposely shot the photo standing in a location where the perspective was most convincing.
The second concept, distance perspective, is simply the recognition that the further things are away from you, the more air there is between you and it. Air is not clear. Big surprise, huh. Being about 78% nitrogen, it’s actually quite blue, and sometimes contains other particulates or vapor that make it even more murky. That’s why distant ridges covered with green trees actually look blue, or gray, or black. Your distant palette will be in faded blues and grays. Nearby forests and objects will be much closer to true color, so for those you would break out the ocher and reds and greens. Again, see the header photo and you can see how I utilized this concept.
Now, go back to the scene you’re building. Study your photos if you have them, and decide on the depth of the scene. How distant is the horizon? How close are objects in the picture? A deep but distant scene will have relatively flat perspective. A close scene will have noticeably different object sizes from foreground to background. You will use the vanishing-point technique to get the sizes and positions right.
So that was a rather lengthy introduction to the subject. Next time we’ll bust out the paint and brushes, and make a mess. Stay tuned. 
